
Are you ready to take your Nintendo Switch gaming experience to the next level? If so, grab a controller and follow our simple guide to learn how to use it with your favorite Switch games. With our easy-to-follow instructions, you’ll be mastering your favorite games in no time!
Introduction to Using Controllers with Nintendo Switch Games
Playing with a controller on the Nintendo Switch is increasingly becoming more popular due to its increasing library of physical and digital games. With easy setup and the ability to connect up to eight different controller types simultaneously, players have plenty of options to control their game play. In this article, we’ll discuss how to connect controllers with your Nintendo Switch as well as offer some tips for getting the most out of your controllers when playing games. To use controllers with your Nintendo Switch system, you’ll need to first connect them via Bluetooth or an accessory like the Pro Controller Adapter. Depending on which type of controller you own – Wii U Pro Controller, Joy-Cons, etc – you’ll have differet connection options available to you. If a Bluetooth connection isn’t an option, some controllers may require an accessory like the Pro Controller Adapter in order for them to function properly.
Once your controller has been connected and synced with your Switch console, you’re ready to start playing! Depending on the game being played and the control scheme used by developers, there are several ways that players can customize their play style. For example, in games like Super Smash Bros Ultimate or Mario Kart 8 Deluxe, players can adjust button mapping and customize controls depending on their personal preference. Additionally, some third-party accessories even offer additional customization options by providing adjustable triggers or sticks for a tailored experience. So if you’re looking for an easy way to get the most out of every gaming session! Look no further than connecting controllers with your Nintendo! Not only does it add variety into gameplay but provides a customized experience that’s sure give gamers a competitive edge.
Benefits of Connecting a Controller to the Nintendo Switch
The Nintendo Switch is a console that has been designed to bring gaming experiences to life in the most exciting and immersive way. To make sure users have the best experience each time they play, they can connect a controller. Utilizing a controller gives gamers many advantages on the Nintendo Switch. Having physical buttons can be more comfortable and intuitive than utilizing a touch screen for some games, providing for an uninterrupted and ergonomic playing experience that keeps your hands from feeling cramped or cramping up after long sessions of gaming. Connecting controllers also allows for multiplayer gaming with up to eight people at once over multiple devices. Each controller can provide its own unique input mapping and control values depending on the game being played, offering greater control of gameplay than one could get with just the Joy-Con controllers or pro controller alone.
Additionally, certain games are natively designed for controllers, giving users improved accuracy and response time for inputs due to the precision afforded by having physical buttons rather than relying on touches and taps with a finger or stylus. Overall, connecting a controller to your Nintendo Switch provides an improved experience over playing solely with the Joy-Cons or pro controller as it offers more precision and accuracy while also allowing you to use an ergonomic design that is comfortable while still keeping your hands cool during long gameplay sessions. Ultimately, these advantages make connecting controllers well worth considering if you are looking to get the most out of your Switch experience!
Types of Controllers That Can Be Used with the Nintendo Switch
The Nintendo Switch provides a powerful and versatile gaming experience, and it can support a variety of controllers. By using a controller, players can navigate menus and game environments much more easily. Here are some types of controllers that can be used with the Nintendo Switch:
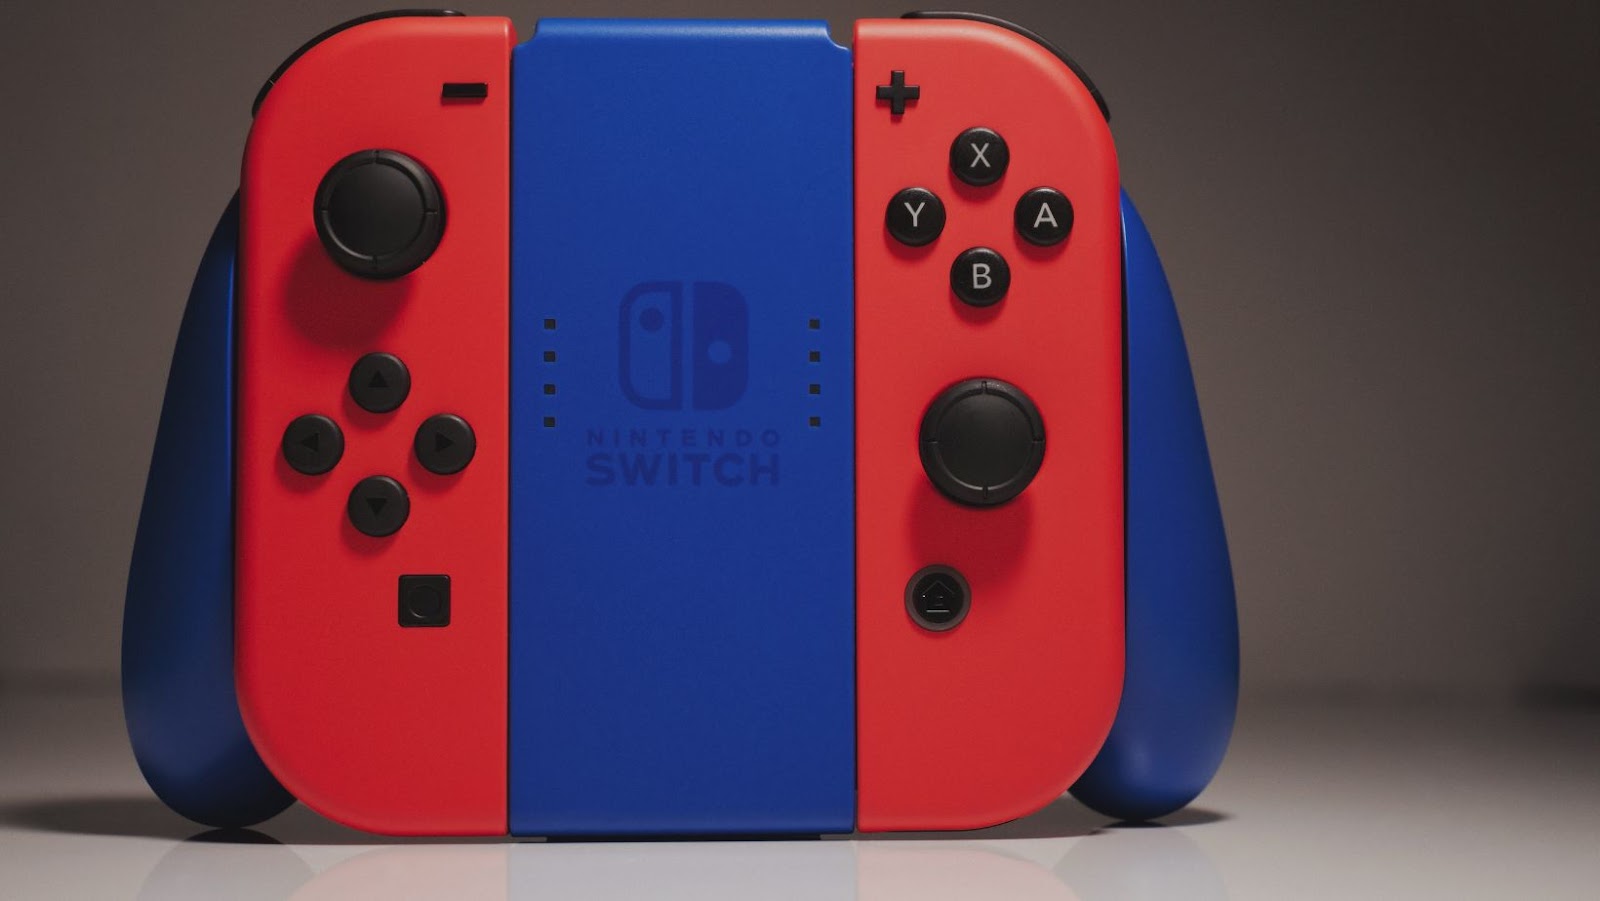
- Nintendo Joy-Con™ Controllers: These versatile controllers come as part of the original Nintendo Switch console package, or may be purchased separately. They are designed for use when playing in tabletop mode or on the go, to make it easy to switch between single and multiplayer gaming options.
- Pro Controller: The Pro Controller is an optional extra controller designed for an enhanced gaming experience while playing on your TV or tablet screen. The Pro Controller also has motion control built in, and a range of other features such as HD rumble and advanced gyro sensors.
- Power A Enhanced Wireless Controller: This officially-licensed wireless controller offers a familiar form factor that makes it easy for experienced gamers to start playing with their friends right away. It features extended battery life, mappable Advanced Gaming Buttons, motion controls, turbo settings and more!
- Motion-Sensing Controllers: Players who want even more immersion in their games may want to take advantage of motion-sensing controllers like the HORI Pokken Tournament™ DX Wired Fight Pad Pro (Nintendo Switch)*. This controller allows you to execute complex moves with accurate motions – ideal for fighting games like Pokken Tournament DX!
How to connect controller to nintendo switch
The Nintendo Switch console has controllers that can be used in a variety of ways, including Wi-Fi and Bluetooth wireless options. On the console itself, the Joy-Cons (the L & R Sideways Controllers) which come with the system can be used – or alternatively you can use any variety of other Joy-Cons or Pro Controllers. For the majority of controllers (including all standard models), the connection process is easy and straightforward. First, ensure that the controller is switched on and then connect it to a compatible USB port on your Nintendo Switch console. The controller will then automatically recognize your console and establish a connection, prompting an audio indication usually in the form of a short buzzing noise when it is connected successfully.
If you have issues establishing a connection, an orange light should come on at different times during attempted connection – this means that it cannot establish a secure or stable connection with your console at this time due to either distance or physical obstructions. If you encounter this issue, make sure nothing is blocking the USB ports from connecting with your controller, and move closer to your Switch if necessary to enhance reception. Once your Pro Controller light is blue after connecting it to your Nintendo Switch via one of its two USB ports, you are ready to play! Enjoy!
Troubleshooting Common Issues When Connecting a Controller to the Nintendo Switch
Connecting a controller to the Nintendo Switch can be tricky at times, as you need to make sure that all the required steps are taken in order for it to work properly. Following some common troubleshooting steps can make the process much easier.
- Before connecting a controller to your Nintendo Switch, please check that it is compatible with the console; most wired and wireless controllers from other consoles or PCs will not be compatible
- Ensure that the latest system update is installed; this is necessary because newer accessories may require specific fixes that have been addressed in an update
- Connect the controller directly to the USB port on the Nintendo Switch Dock; try different ports if necessary as certain ports may be unusable depending on user settings
- Try disconnecting and then reconnecting any previously connected controllers and accessories
- Make sure Wireless Communications are turned ON via System Settings > Controllers and Sensors > Wireless Communications
- Remove all other controllers and accessories from your console, including Joy-Cons and Pro Controllers, if possible
- If using a third-party wireless adapter or USB cable, please visit Support for help
Tips and Tricks for Using Controllers with Nintendo Switch Games
Nintendo Switch supports a variety of controllers, including the Nintendo Switch Pro Controller, Joy-Cons and three third-party controllers. To get the most out of your gaming experience, there are some tips and tricks you should know when using controllers with Nintendo Switch games.
- When playing a game on the Nintendo Switch console itself, you can connect up to eight Joy-Con (four sets) or four Pro Controllers to one console at once. This is great for playing multiplayer games!
- You can also sync multiple Joy-Con so that each player has separate controller inputs for games like Mario Kart 8 Deluxe or Splatoon 2. Simply press the Sync button on each Joy-Con and then press the L and R buttons on both simultaneously. The two controllers will be paired together and each one will have a separate button layout accessible in game options.
- To use third-party controllers with your console, make sure to read your controller’s instruction manual first to learn how to properly connect it to the switch. Depending on the model of controller you own, there may be different connections types such as USB, Bluetooth or Wi-Fi adapters available for purchase if needed. Additionally, every controller may have its own specific control mapping that needs to be customized in order for it work properly with certain games like Super Smash Bros Ultimate or Overwatch: Legendary Edition for example.
Final Thoughts on Using Controllers with Nintendo Switch Games
Although certain controllers have been designed specifically for the Nintendo Switch, some may prefer to use Xbox One or PlayStation 4 controllers. Fortunately, many controllers are cross-compatible with the console, provided they connect via bluetooth or USB cable. To connect an Xbox controller to your Nintendo Switch:
- First ensure that your console is up-to-date as certain features may not be available without updating the system software.
- Then make sure the controller is in pairing mode either by pressing lightly on its connection button or by using a paperclip to press its reset button through the small hole located at the back of it.
- Finally, search for the device within your Nintendo Switch’s Settings menu and select it when found.
If you plan on using a PlayStation 4 controller with your game console:
- Make sure you enable Bluetooth connectivity on both devices in their respective settings menus and put both devices into pairing mode (for some PlayStation 4 models, this will require you to use a paperclip and press down on a small reset button).
- Once successfully connected, you can start playing any compatible game while still experiencing full control over all aspects of gameplay.
Overall, players have plenty of options when it comes to connecting their favorite controllers to the Nintendo Switch! By following a few simple steps – such as quickly checking for updates and enabling Bluetooth connectivity – gamers can access various types of gaming pads and enjoy limitless possibilities right away.
Conclusion
There are many different ways to use controllers with your Nintendo Switch console. Whether you’re using a classic wired controller, wireless Bluetooth controller, or Joy-Con controllers, having the right controller can help you get the most out of your gaming experience. Depending on the game you’re playing and the controls it supports, you will want to choose your controller accordingly. Classics like Mario Kart 8 Deluxe and Super Smash Bros Ultimate make use of traditional control schemes while newer titles like Splatoon 2 and Mario Odyssey support motion controls. Familiarize yourself with available controller options from Nintendo as well as third-party brands to find the ones that fit your gaming style best.
More Stories
Guide on how to change motion control settings on Nintendo Switch
Should I buy a Nintendo Switch if I want to play Roblox?
What You’ll Need to Record Your Gameplay on Nintendo Switch