
Do you want to capture those epic gaming moments on Nintendo Switch? This article will provide a step-by-step guide to record your gameplay with ease. You’ll learn what gear you need and how to set it up for a seamless gameplay recording experience. With just a few simple steps, you’ll be able to start sharing your gameplay with friends in no time!
Getting started recording your gameplay on a Nintendo Switch is easy and all you need is the right equipment and software, as well as knowledge of the basic features available. This guide will show you exactly how to record your gameplay, so that you can share your best moments with your friends and family. We’ll discuss different equipment options, game recording techniques and game sharing options along the way. So let’s get started!
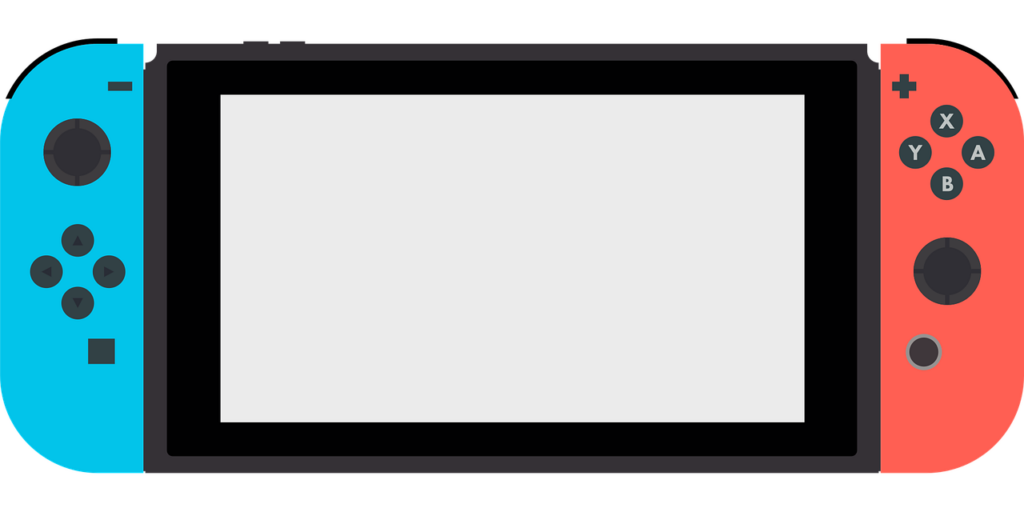
What is Nintendo Switch?
Nintendo Switch is a hybrid gaming console released by Nintendo in March 2017. It is a versatile console that allows the user to both play traditionally on the TV and handheld on the go. The Switch uses game cards which can be inserted into slots at the top of the unit, and it allows up to eight different consoles to connect wirelessly for local Multiplayer games. In addition, it comes with two Joy-Con controllers that can be detached from the system allowing greater gaming flexibility.
The Nintendo Switch also features recording abilities, allowing you to capture your gameplay in HD with or without audio commentary. To record your gameplay on Nintendo Switch, here are some of the essentials you’ll need:
- A microSD card: In order to store recorded gameplay, a microSD card must be inserted into your console. The best way to make sure you have enough space is to buy one with at least 32GB of storage capacity or more depending on how much footage you plan on recording.
- A capture card: If you want higher quality recordings in HD or 4K resolution, then a USB-C capture card might be necessary especially if you plan on streaming online.
- An external microphone: Since Mic inputs are not available on all Joy-Con controllers and Pro Controllers, an external mic would be a great way to add voice recordings during gaming sessions or streaming online so that viewers can hear your gameplay commentary in clear audio quality.
What You’ll Need to Record Your Gameplay on Nintendo Switch
Recording your gameplay on the Nintendo Switch requires a few pieces of equipment, but with the right setup, you’ll be able to capture and share your gaming accomplishments in no time. Let’s take a closer look at each step:
- Capture Card: You’ll need to select the type of capture card that connects to both your computers hard drive and the Nintendo Switch console. You can purchase USB or PCIe capture cards that are specifically designed for recording video game footage from different consoles like Xbox One or Playstation 4. Be sure to check compatibility before purchasing!
- Connections: Depending on what type of console you have and what type of capture card you purchased, certain connections will be required. For example if Using an HDML capture card with a Nintendo switch running on TV mode then an HDMI cable is needed connecting your captured device(like Elgato game Capture), the switch itself and a display output such as a monitor or TV. Alternatively if using one such as the Elgato Game Capture HD60 S+ along with an RCA connectionYou will also need audio cables connected between the captured device will require both an HDMI cable tethering your switch itself with one end going into HDMI input port on Elgato Game Capture HD60 S+and then RCA connector going into output ports combined too allow audio input into recorded feeds happening through DVR software being used on computer side.
- Software: Your hardware setup isn’t complete until you’ve installed whatever software package comes along with it (like Elgato’s 4K Game Capture Software) but there are other programs available for editing (iMovie) or sharing (YouTube). It’s also important to make sure your PC meets all system requirements for capturing high-quality footage from your gaming systems as outlined by manufacturer guidelines including CPU speed , memory RAM & free storage space too ensure no lag occurs when recording video or making edits near completion of projects being shared around friends & family.
Setting Up Your Recording Device
Before you can begin recording your gameplay on Nintendo Switch, you’ll need to make sure that you have the appropriate hardware and software. First, you will need a capture card that is compatible with Nintendo Switch. There are several different models on the market, with varying levels of functionality, so take some time to research and compare options before making your purchase. Once you have your capture card, next you will need recording software to control and edit the video recordings from your gameplay sessions.
When choosing recording software for Nintendo Switch, make sure that it is designed specifically for use with the console. Some software programs may not be optimized for capturing fast-paced gaming scenarios and will have trouble keeping up with the action. Finally, if your device has multiple HDMI ports—or if you’d just like to prevent any potential lag during recordings—you should consider investing in an HDMI splitter or switch to make sure that your input signals are evenly distributed throughout all ports of the capture card’s housing without loss of quality or resolution.
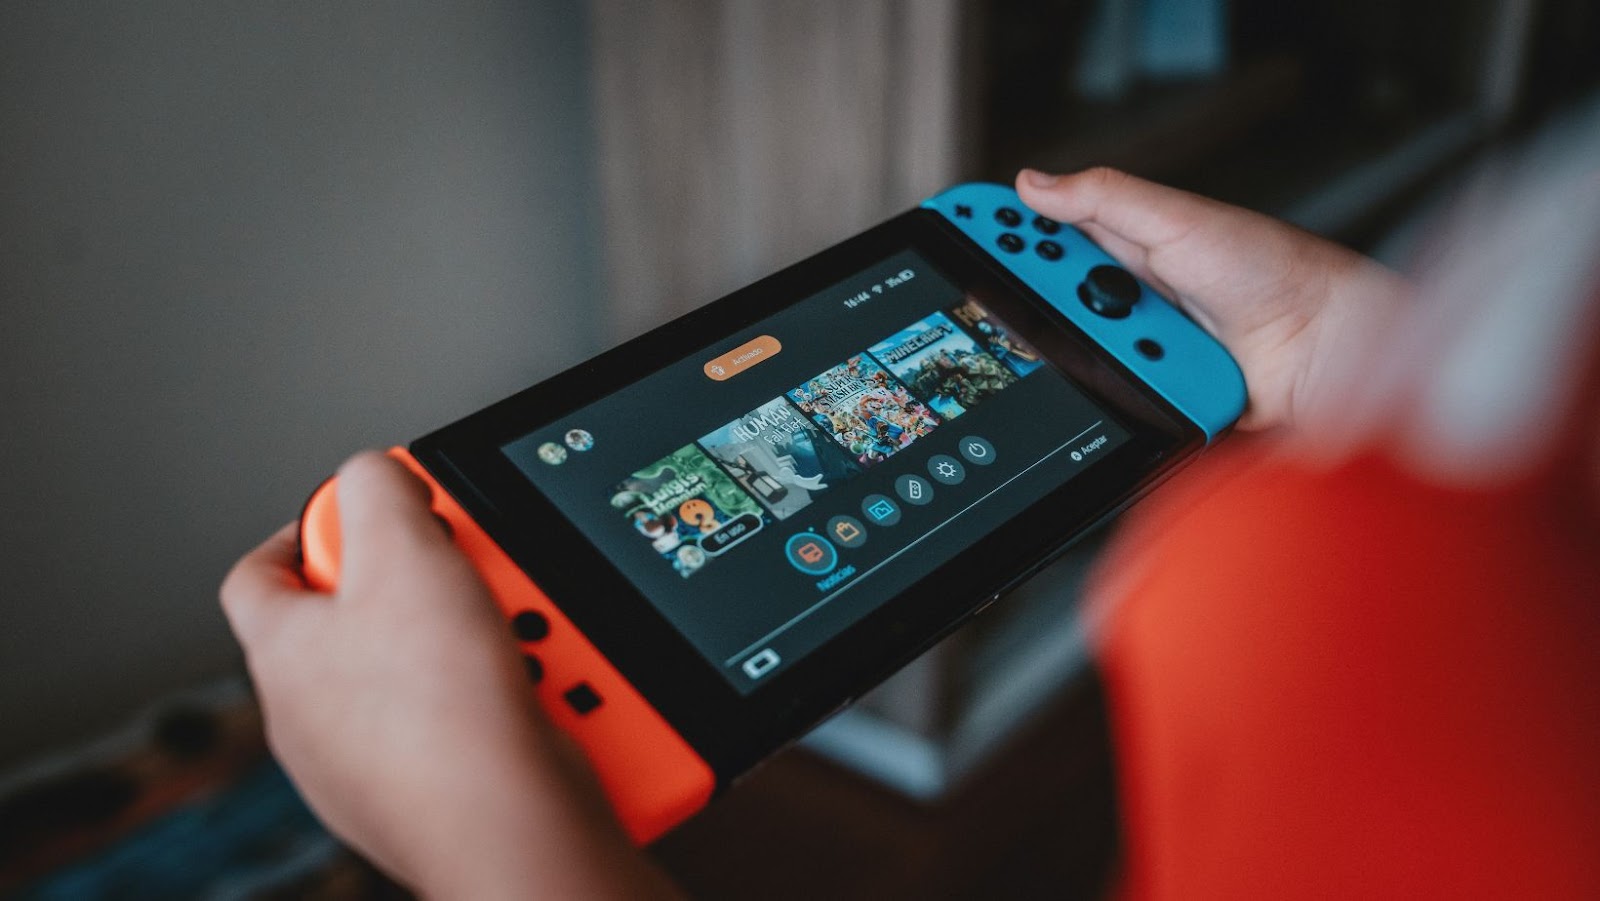
How to record on nintendo switch
Recording your gameplay on Nintendo Switch is easy-to-do using the Capture button located at the left side of the Joy-Con controllers. To start recording, press the Capture Button either twice or hold it down for five seconds to start capturing your footage.
- When pressed twice, this will take screenshots—which can be viewed and edited through Nintendo Switch Albums.
- When held for five seconds, you’ll be able to record video footage of your gaming session. Pressing the Capture Button once again will end your recording session and output a video file which could then be accessed on “Albums” as well as possibly shared over social media by way of Nintendo Switch Online app.
Nintendo also offers enhanced video capture capabilities via third-party apps such as Elgato’s Game Capture HD60 S+ device and AVerMedia Live Gamer Portable 2 Plus external capture devices that are plug-and-play compatible with the console but requires PCs. This allows gamers to record footage without limiting it to 25 minutes when using basic hardware such as Joy cons which has a maximum recording duration limit of 25 minutes per clip.
Tips for Recording Your Gameplay
Recording your gameplay on the Nintendo Switch can be a great way to capture memories and make custom compilations for yourself or friends. With just a few simple steps, you can make sure you never miss another gaming highlight. To record your gameplay, the most important step is to ensure that you have all the necessary equipment for recording. To get started, you will need:
- Capture card
- Computer with editing software
- Audio capture device
- Microphone/headset
- HDMI Cable
Once you have all this equipment set up, it’s time to connect everything. Plug in your HDMI cable from your Nintendo Switch into your capture card. You may also need to plug in an audio cable from the audio output of your Switch into an audio input on the capture card if required if you plan to include commentary in your video recording. After connecting the HDMI and audio cables, install the necessary drivers on your PC and configure any settings associated with the capture card and software. Most importantly, launch your recording software so that it is ready to start capturing video as soon as needed!
Conclusion
Once you have everything setup, you are ready to start recording your gameplay. Before beginning, make sure your Micro SD card has enough storage space to accommodate the recordings. You can always move the clips to a computer or cloud storage if there’s a need for extra space. For best results, make sure that the Nintendo Switch is connected via an HDMI cable with the console powered on and look into using an external microphone if you don’t want background noise in your recordings. Also be aware of copyright-protected music and gameplay as some clips may be removed once uploaded online unless you have obtained prior permission from the content owner.
More Stories
Tracking TRX: Understanding TRX Explorer Tools
The Technology Behind Vaping
Reasons Why Instagram is Essential for Building Your Personal Brand