
If you love playing exciting video games on your PS4, you know it’s important to keep track of your progress and your gaming memories. But sometimes, the endless stream of recorded gameplay can be overwhelming — especially when all you want to do is enjoy some uninterrupted gaming fun. So how do you stop the recording and reclaim your PS4? Let’s find out!
Introduction
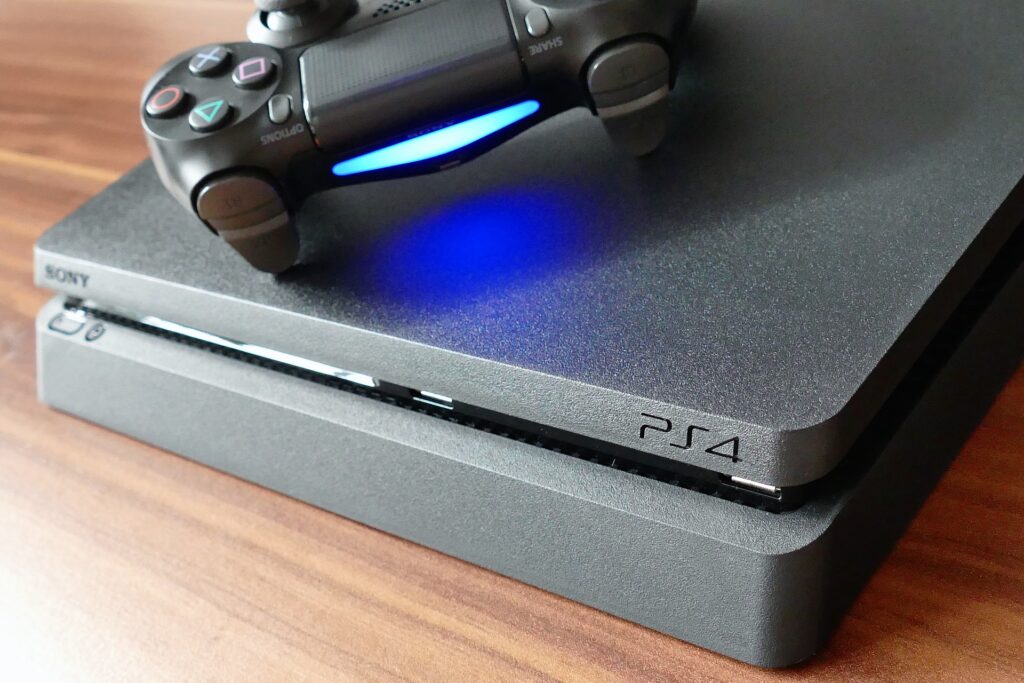
The Playstation 4 is a popular game console developed by Sony Interactive Entertainment. It can be used to play games, watch movies, and even stream content online. One of the great features of the console is the ability to record gameplay footage which can be shared on social media.
However, if you no longer wish to record your gameplay or you’ve simply run out of storage space, it may be necessary to turn off this feature on your device. This tutorial aims to show you how you can stop recording gameplay footage on your Playstation 4 quickly and easily.
Benefits of Recording Gameplay on PS4
Recording gameplay on the PlayStation 4 can be beneficial in a variety of ways. From capturing new strategies to simply sharing your gaming experiences with friends, recording your gameplay can be an incredibly useful tool for both experienced and novice gamers. Additionally, PlayStation allows users to access their recordings directly from the console’s capture gallery, enabling players to watch and share their best moments as well as overview their games back at any time.
This powerful tool also offers a “clip editing” feature that gives you the ability to trim and combine clips into narrated stories. You can add text, titles, transitions and voice input to create professional-looking videos that are perfect for sharing online or showing off during livestreams. Moreover, you can enhance your recordings with analysis such as tracking frames per second (FPS) or determining how far players have progressed in each game session.
By taking advantage of these features, players can not only boost their skills but also stay up-to-date on what other gamers are doing. Recording gameplay on PS4 is a must-have feature for competitive gaming, which makes it essential for achieving top-level performance in today’s competitive landscape.
How to Record Gameplay on PS4
Recording and broadcasting your games is a great way to get the most out of your gaming. The PlayStation 4 has the ability to record long gameplay sessions, perfect for showing off your skills or producing an interesting highlights video. You can even broadcast your gameplay live with the help of Sony’s streaming service, Twitch.
To record a game session on PS4, you will need to enable recording in two separate menus:
1. In Settings: Go to Settings > Sound and Screen > Enable HDCP > Set HDCP Mode To ‘Off’ This will enable you to record gameplay via HDMI connection and upload it to YouTube or other websites.
2. In Share Settings: Go to Settings> Sharing & Broadcast > Video Clip Length > Set Time Limit To ‘Unlimited’ This will allow you to record long sessions without interruption or have the footage split into clips automatically for easy sharing on social media platforms such as Twitter, Facebook, or Instagram.
Once these settings are enabled, you’re all set! The PS4 will automatically start recording for each game session (unless manually paused) and clips can be viewed through the Capture Gallery app from within your console’s home page. To stop recording at any time, simply press and hold the Share button while playing a game and select “Stop Recording.” Of course, at any point before that finish line comes into view, you can hit that same Share button again to “Save Clip” which saves recorded footage on-the-fly in case something particularly exciting happens during your gameplay that must be shared with friends online!
How to Stop Recording Gameplay on PS4
Stopping the recording of your gameplay on the PlayStation 4 is a simple task that only takes a few steps to complete. The following instructions provide an overview of the process:
1. Open the Share Settings menu. To access this menu go to [Settings] > [Sharing and Broadcast] > [Share Settings].
2. Select ‘Stop Recording’ from the options in the Share Settings menu. This will terminate any recording that was in progress when you accessed the menu.
3. If you wish, you may also use this option to ‘Stop Streaming’, however this will only affect any streams that had been broadcast live via Twitch or Ustream while you were playing your game.
4. Another option is to open the Quick Menu by pressing and holding the Share button; from here select ‘Stop Recording’.
5. Once you have completed any of these steps, please ensure that all necessary files are saved in order for you to access them after your session has ended; otherwise, they may be lost permanently!
Tips for Recording High Quality Gameplay
For gamers who want to capture and record their gaming experience, it’s important to understand how to record high-quality gameplay. Here are some basic tips for recording quality gameplay:
Choose the Right Settings – You need to adjust the settings on your PlayStation 4 (PS4) before you start recording. Make sure your PS4 is set for HD video and audio quality, then choose either 1080p or 720p as the resolution. For frame rate, select either 30fps or 60fps depending on how smooth you want your recordings to be.
Use a Microphone – Having good audio quality when recording is just as important as having visual clarity. Investing in a decent microphone and setting the levels in your console will help enhance your recordings and make them sound great.
Reduce Background Noise – Background noise can ruin great gameplay recordings and make them difficult for viewers to follow. Find a comfortable place to record with minimal external noise such as children shouting, pets barking or random traffic sounds outside of the window, etc.
Use Tripod Mounts – If available, use a tripod mount when recording in order to keep everything stable while playing PS4 games. This will prevent shaky footage and keep videos looking professional even if they’re filmed at home.
Adjust Picture Settings – Adjusting picture settings such as brightness, contrast, saturation will improve visuals even more so than usual resolution settings alone. This option can often be adjusted right on the console itself instead of needing additional software like Photoshop or Lightroom
Once you have finished recording your gameplay, there are a few simple steps that you can take to stop the recording and save the file on your PS4. First, press the Share button on your controller and select “Stop Recording”. This will end the current recording session and allow you to save it. Second, select “Saved Videos” under the Capture Gallery tab, which will list all of your captured videos. Finally, select a video that you have taken and click “Options” then “Save Video Clip” to finish the process. After doing this, the video clip should be saved on your PS4 console and can be accessed in your Capture Gallery to post online or share with friends.
More Stories
GeekGadget PlayStation Playas: The Compact Controller Hub Every Casual Gamer Needs In 2026
PlayStation Playas: The GeekGadget Guide To Winning Console Culture In 2026
Why Won’t My PlayStation Turn On? Common Causes and Troubleshooting Tips