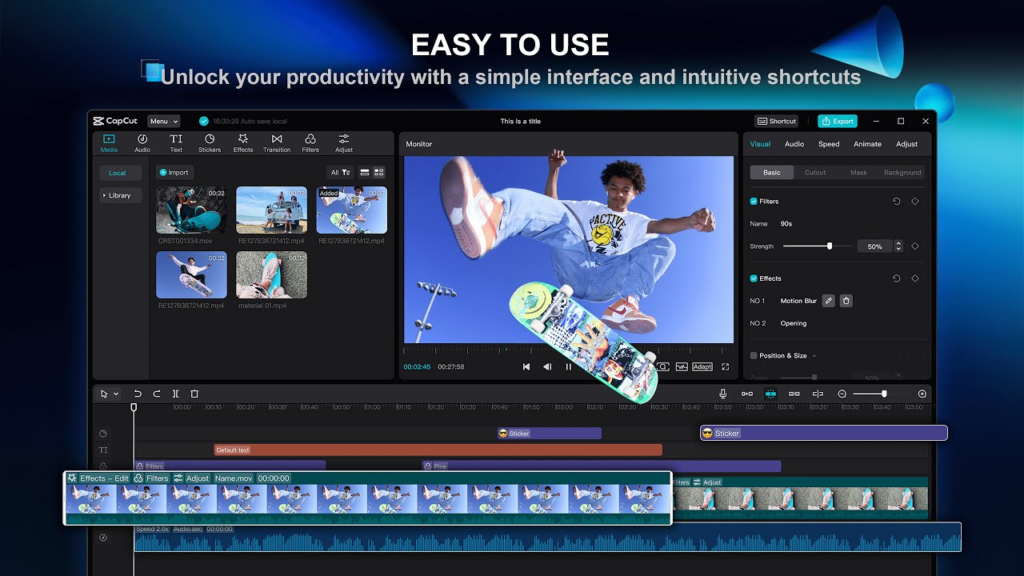
CapCut desktop video editor is a video editing software that’s changing the game for video editing. It offers easy-to-use tools and features designed for content creators. This software makes it easy for users to create amazing videos. It features multi-layer editing, accurate trimming, and a large collection of effects and transitions.
One important feature is the split-screen option. This makes it easier to compare products in e-commerce and reviews. Showing products next to each other helps viewers see the differences and make better buying decisions.
This ability increases viewer interest and helps people feel more confident in their purchasing choices. Are you prepared to enhance your video content? Explore our blog for insights on how CapCut desktop video editor can improve your editing skills!
Benefits of Using CapCut’s Split Screen Feature for Product Comparisons
The split screen function in CapCut desktop video editor provides various benefits for product comparisons:
-
Enhanced Viewer Engagement
Split screens enhance videos, making them visually interesting and appealing. They let viewers compare product details side by side. This enhances understanding of the information.
-
Effective Visual Comparisons
This format makes things clearer to see. It helps viewers pay attention to important features, color variations, and design details without getting distracted. When products are presented together, it emphasizes unique qualities that could be missed in separate images.
-
Saves Editing Time
The tools in the CapCut desktop video editor help make the editing process quick and easy. Users can easily make professional comparison videos quickly, even if they lack advanced skills. Capabilities such as video background remover increase customization. This improves the overall quality of the content.
With these advantages, creators can create captivating and informative videos that guide viewers in making better shopping decisions.
Steps to Use the Split Screen Feature in CapCut
-
Import Your Videos
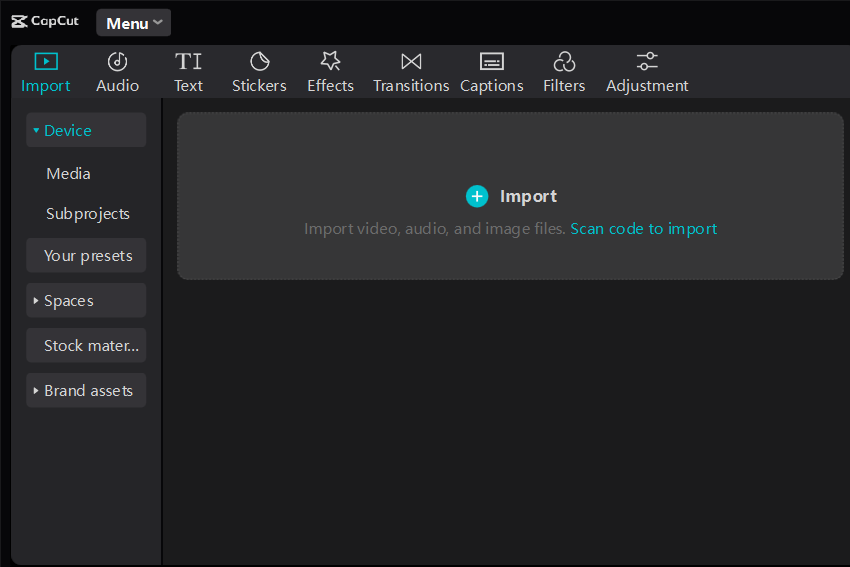
Begin by downloading the CapCut desktop video editor and then open it on your device to start editing. Once you have it open, initiate a new project by pressing “New Project.” Next, look for the “Import” button, which is often shown with a plus sign. Press it to access your file explorer and search for your videos.
Choose the clips you’d like to analyze and click on “Open.”
For the best outcome, choose videos that are of good quality. This ensures that your edits come across as sharp and refined. After you have imported the videos, you can drag them onto the timeline to continue editing. This uncomplicated process allows you to sort your video files and start crafting engaging content.
-
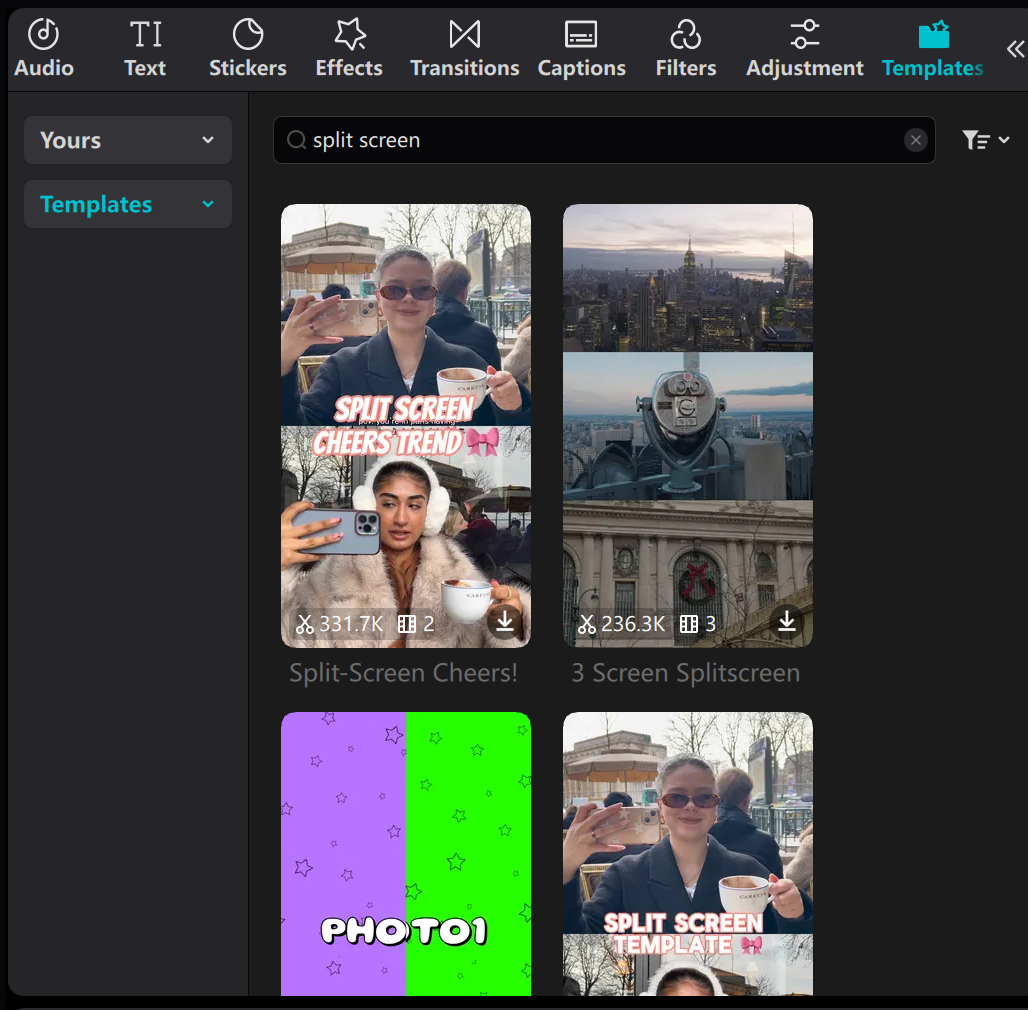
Select the Split Screen Template
To use CapCut’s split screen feature, follow these steps:
-
Create a new project: Open CapCut desktop video editor and initiate a new project.
-
Pick a template: Choose a template that aligns with how you like to compare. Options are available in two-way or three-way layouts.
-
Select your videos: Pick the videos you want to compare. You can choose two, three, or more clips, depending on what you need.
-
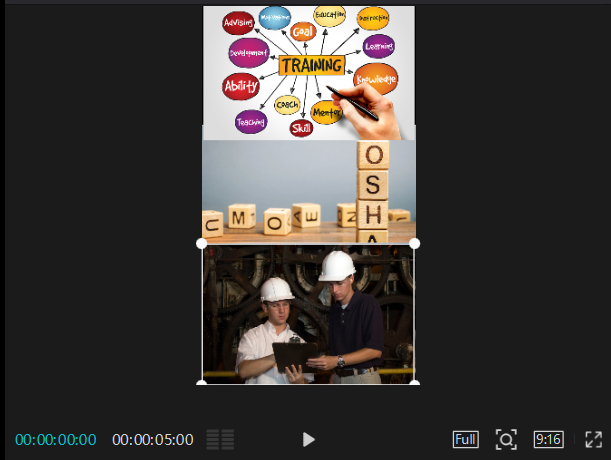
Adjust the layout: You have the option to adjust the size and location of every video clip for improved visibility.
CapCut desktop video editor gives you the option to modify the background with various colors or visuals. You can further include effects or animations to make your video more engaging. When you’re done adjusting, download your final video. This strategy streamlines the process of creating engaging content that highlights a range of products efficiently. You can also use text-to-voice to edit your videos.
-
Customize Each Screen
To adjust each section of the split screen in CapCut desktop video editor, follow these steps for a clear side-by-side view:
-
Adjust Brightness and Contrast: Find a video clip in the timeline. Tap the “Adjust” choice. Move the exposure sliders to increase or decrease the brightness of the clip. Adjust the contrast setting to make your images appear more vivid.
-
Add Text Overlays: Select the “Text” tool to tag each product. Select a clear font and a color that is easy to see against your video background. This makes it simple for viewers to recognize each item.
-
Use Background Remover: If you need sharp visuals, make use of CapCut’s video background remover. This feature ensures attention stays on the products by eliminating any background distractions.
By applying these tips, you can build split screens that are eye-catching and showcase your products nicely.
-
Add Text and Callouts for Key Product Features
To insert text and callouts highlighting key product features in CapCut, follow these instructions:
-
Start your video project in the CapCut desktop video editor and navigate to the ‘Text’ section.
-
Use the ‘Add Text’ option to type in your feature descriptions. Choose a font and color that are distinct and easy to see.
-
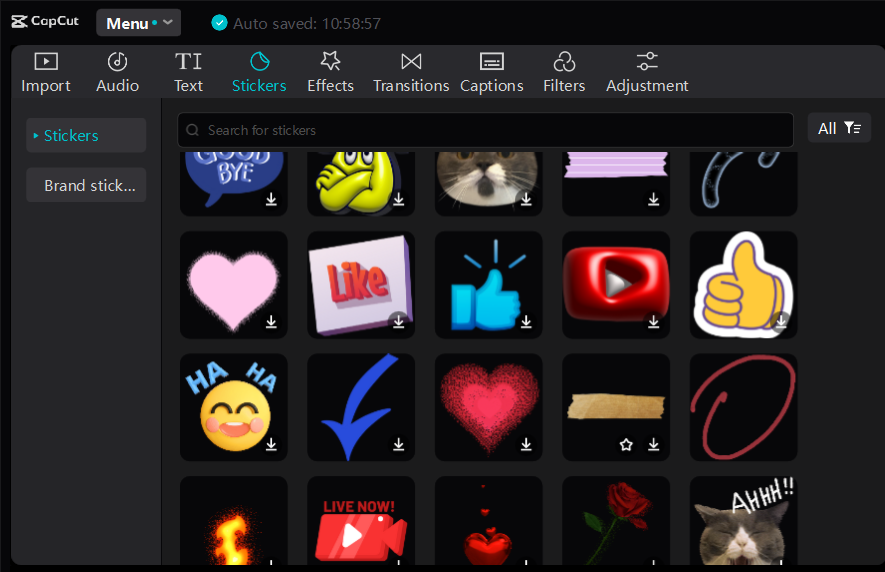
Emphasize important points with icons or stickers. These visual tools can effectively grab attention.
-
Use callouts to highlight important points. Position them near the related text or feature.
-
Use CapCut’s text-to-speech tool to turn your text into audio descriptions. This will make your video more interesting and easier to understand.
When you combine these aspects, it boosts viewers’ understanding and memory of your product features.
-
Export and Share
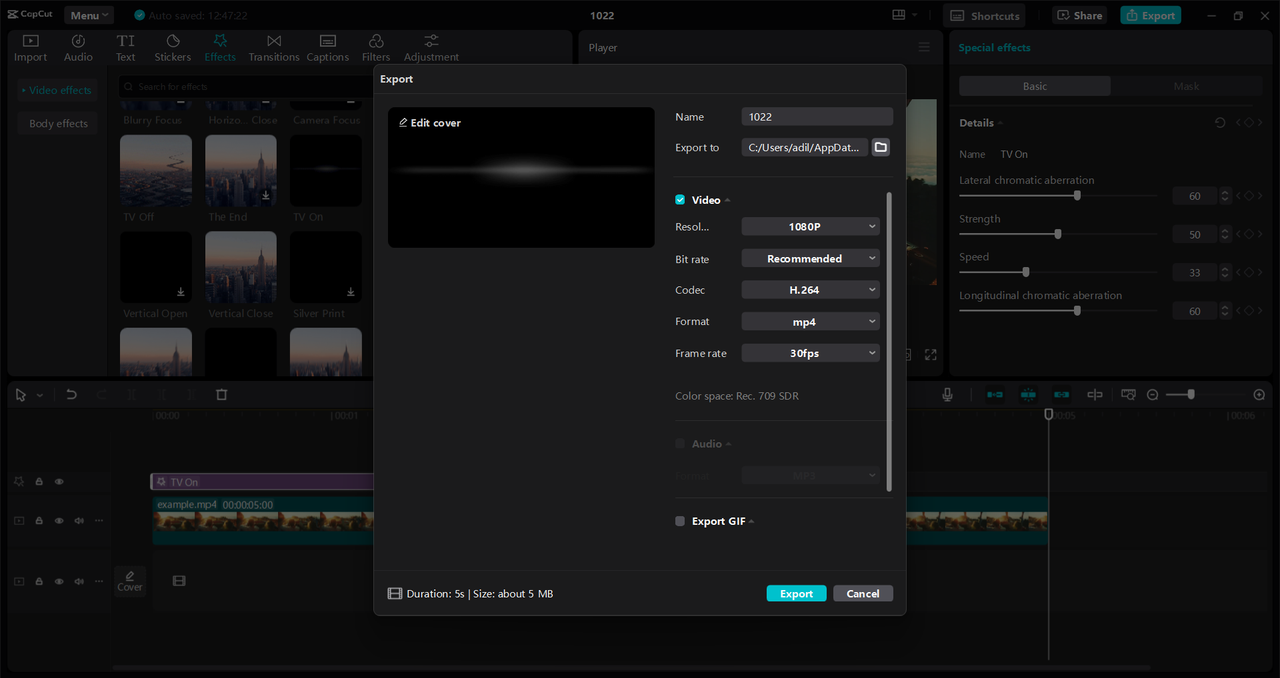
To export your video using the CapCut desktop video editor, tap the export button. You can adjust the resolution and file format in the settings before saving it. A higher resolution will give you better quality, especially for social media.
When you share your video, use direct upload features on platforms like Instagram or TikTok for convenience. Make sure to include relevant hashtags to boost visibility. Write engaging captions that tell a story about your product. This helps potential buyers relate to your content and encourages them to take action. Always preview your video to ensure it looks good before you post it.
Wrapping Up
The split-screen feature in the CapCut desktop video editor is perfect for making product comparison videos. It allows users to show different products side by side, making it simpler for viewers to spot differences and similarities. This feature, along with the video background remover and text-to-voice tools, helps creators make engaging content. These tools enhance the viewing experience and aid in making smart purchasing decisions. If you want to create captivating videos, consider using CapCut. Its user-friendly tools can help you produce informative content that attracts viewers and increases engagement.

More Stories
The Gadgets Every Geek Needs in 2025
The Intersection of Games and Cryptocurrency: New Opportunities in Finance
The Perfect Accessories for Mac Users to Own