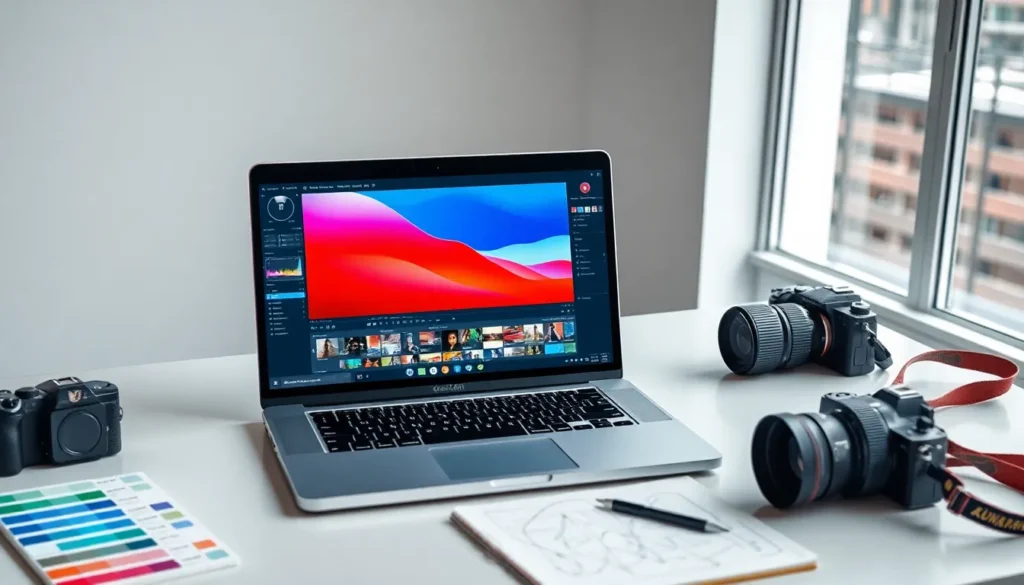
Editing pictures on a Mac can transform ordinary photos into stunning visuals. With powerful built-in tools and user-friendly software, anyone can enhance their images without needing extensive design skills. Whether it’s adjusting brightness, cropping, or applying filters, the possibilities are endless.
For those looking to elevate their photography game, understanding how to navigate these editing tools is essential. From the native Photos app to advanced software like Adobe Photoshop, Mac offers a range of options tailored to different skill levels. This guide will explore the best methods and techniques to edit pictures effectively on a Mac, making it easier than ever to create eye-catching images.
Getting Started With Photo Editing on Mac
Editing pictures on a Mac involves utilizing various tools and software to achieve polished results. Users can access both native applications and third-party options to enhance their images significantly.
Essential Tools and Software
Photos App: The built-in Photos app provides basic editing features such as cropping, adjusting exposure, and applying filters. Users can access these tools intuitively within the application.
Preview: Preview offers essential editing options for quick adjustments like resizing and annotating images. This user-friendly app suits those needing minor edits without complex software.
Adobe Photoshop: For advanced editing capabilities, Adobe Photoshop remains a leading choice, offering comprehensive tools for retouching, layering, and creating graphics. Users can explore various features, such as selections and smart filters.
GIMP: GIMP serves as a free alternative to Photoshop, providing powerful editing tools including layers, masks, and customizable brushes. This open-source software suits users looking for a budget-friendly option.
Affinity Photo: Affinity Photo delivers professional-level photo editing at a one-time purchase price. It includes advanced features comparable to high-end software, making it ideal for serious photographers.
System Requirements
Operating System: Users must run macOS Sierra (10.12) or later for optimal performance with most current photo editing software.
RAM: A minimum of 8 GB RAM is recommended for smooth operation, particularly when performing extensive edits or working with high-resolution images.
Storage Space: Ensure at least 2 GB of free storage for software installations. Additional space is essential for saving edited images and retaining backups.
Graphics Card: A dedicated graphics card enhances performance for 3D editing and previews, though integrated graphics may suffice for basic tasks.
Display: A Retina display provides higher pixel density and better color accuracy, improving the editing experience for photographers and designers.
How to Edit Pictures on Mac
Editing images enhances their appeal and can draw attention to key details. Users can employ basic editing techniques to transform their photos significantly.
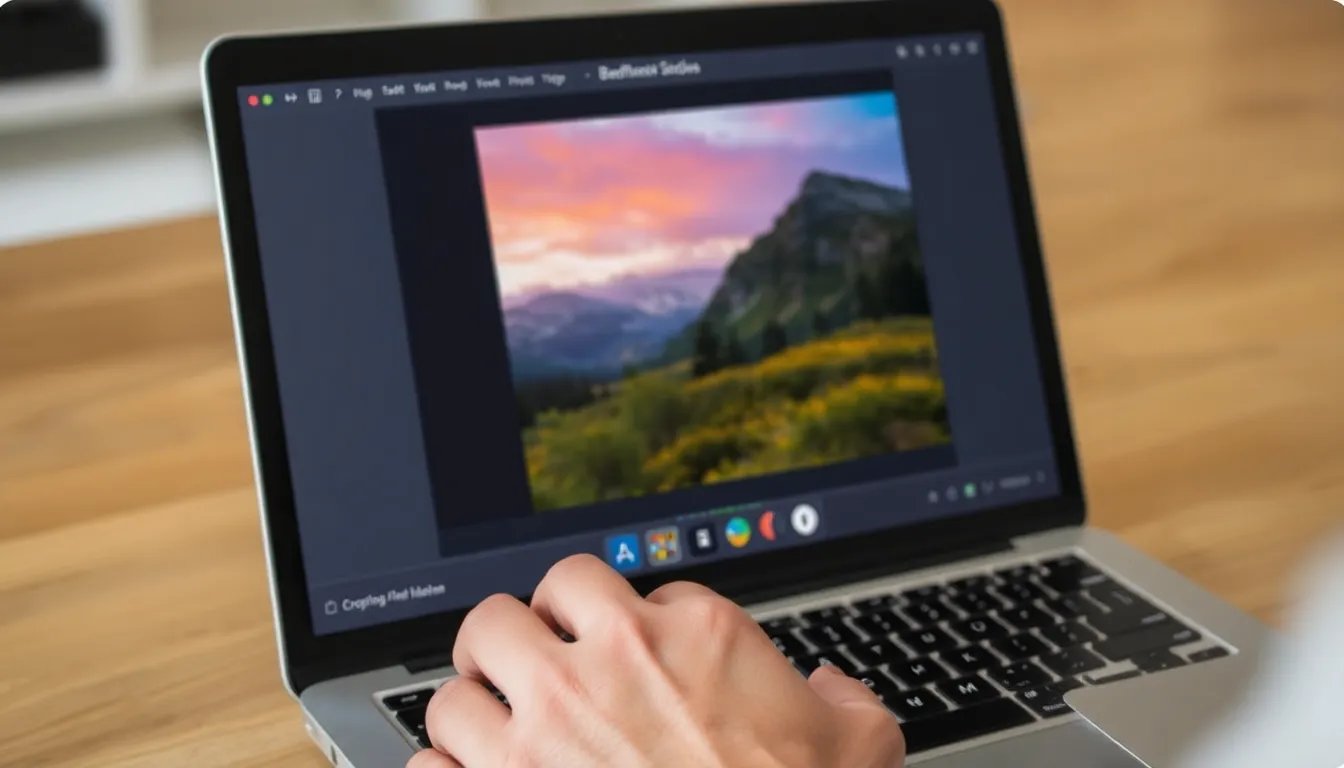
Cropping and Resizing Images
Cropping removes unwanted elements and improves composition. Users can access the cropping tool in the Photos app or Preview by selecting the crop option and adjusting the corners. Resizing alters an image’s dimensions without affecting quality. In the Photos app, users can select the image, click on “Edit,” and then resize using the adjust panel. Maintaining the aspect ratio ensures the image isn’t distorted.
Adjusting Brightness and Contrast
Adjusting brightness enhances overall visibility, while adjusting contrast adds depth. In the Photos app, users can click on “Edit” and navigate to the adjustments panel. Increasing brightness lightens dark images; decreasing brightness darkens overly bright photos. Altering contrast boosts the difference between light and dark areas, creating a more dynamic image. Small adjustments can significantly improve the overall look without losing details.
Advanced Editing Options
Advanced editing options provide tools that can significantly enhance photos, transforming them into professional-quality images. Users can explore filters, effects, and retouching tools to achieve desired aesthetics with ease.
Using Filters and Effects
Filters and effects can dramatically change the mood of an image.
Apply presets to quickly alter the overall look. Users can use built-in filters in the Photos app or third-party options.
Customize filters to fine-tune enhancements, adjusting intensity and specific color adjustments.
Experiment with styles such as vintage, black and white, or cinematic to achieve unique visual appeal.
Use layering options in Adobe Photoshop for blending multiple effects while maintaining original image integrity.
Retouching and Healing Tools
Retouching and healing tools offer precision in editing by allowing users to eliminate imperfections.
Utilize the Clone Stamp tool in Photoshop or GIMP to replicate areas of an image, covering unwanted spots or blemishes.
Employ the Healing Brush tool for seamless corrections, blending in the surrounding texture and color.
Incorporate the Spot Removal tool in the Photos app for quick fixes, targeting minor flaws like dust or scratches.
Adjust skin tones and other features using the Frequency Separation technique in advanced programs for detailed portrait retouching.
These options enable users to perfect their images, creating polished and professional results.
Organizing and Saving Your Edited Photos
After editing photos on a Mac, proper organization and saving practices become essential to maintaining quality and accessibility. Utilizing optimal file formats and organization strategies enhances user experience.
File Formats and Quality Settings
Users should save edited photos in appropriate file formats to preserve quality. Common formats include:
JPEG: Best for everyday images; it balances quality and file size.
PNG: Ideal for images requiring transparency; it maintains higher quality than JPEG.
TIFF: Recommended for high-quality prints; it supports layers and multiple color channels.
HEIC: Offers efficient compression with quality retention; it’s useful for newer macOS systems.
Users should also adjust quality settings. Saving at the highest quality ensures detail retention but increases file size. For web sharing, a reduction in file size without significant quality loss helps with loading speed.
Create Folders: Organize folders by projects, dates, or events to locate photos easily.
Use Tags: Apply keywords for quick searches, making it easier to find specific images.
Implement a Naming System: Develop a consistent naming convention that reflects the content and date, enhancing file retrieval.
Backup Regularly: Utilize external drives or cloud storage for safeguarding against data loss.
Incorporating these best practices fosters an efficient workflow while maximizing the potential of edited photos on a Mac.
Conclusion
Editing pictures on a Mac opens up a world of creative possibilities. With a variety of built-in tools and software options available, users can transform their images into stunning visuals. Understanding the features of each tool empowers individuals to enhance their photography skills, whether they’re beginners or seasoned editors.
The techniques discussed enable users to achieve professional-looking results with ease. By experimenting with different styles and utilizing advanced editing options, anyone can create eye-catching images. Furthermore, organizing and saving edited photos effectively ensures easy access and quality preservation.
With the right approach and tools, editing photos on a Mac can be both enjoyable and rewarding.


More Stories
Database For Mac: Unlocking the Power of Data Management
Mac Screen Glitching: Causes and Solutions
AirPods Won’t Connect To Mac? Here’s How to Fix It Fast